Introduction: The Process of Renewing Your Indian Passport in the USA
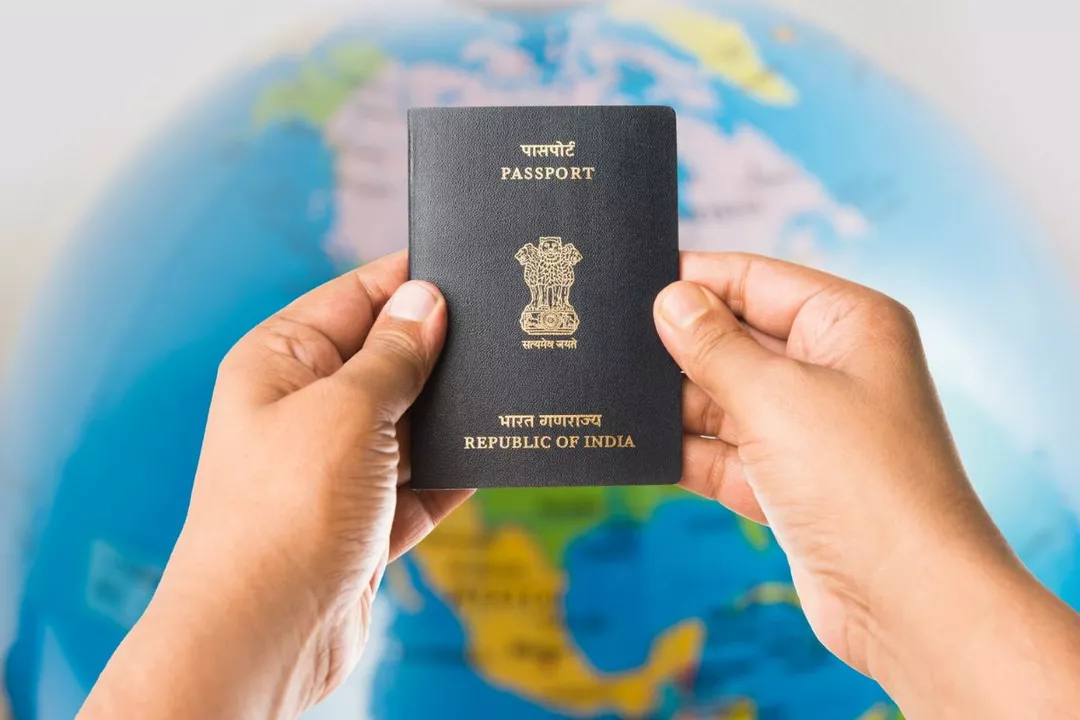
As an Indian national living in the United States, there may come a time when you need to renew your Indian passport. This process can be confusing and, at times, overwhelming, but don't worry - I'm here to help! In this article, I will guide you through the steps you need to take to renew your Indian passport in the USA. I'll be discussing everything from gathering the necessary documents to submitting your application and tracking its progress. So, let's dive in and get started!
Step 1: Check Your Passport's Expiration Date and Determine Eligibility
Before we go any further, it's important to determine if you're eligible to renew your Indian passport. First, check the expiration date on your current passport. If it's expired or will expire within the next year, you're eligible to apply for a renewal. Additionally, make sure that your current passport was issued within the last 15 years and that you were at least 18 years old when it was issued. If you meet these criteria, you're good to go!
Step 2: Gather the Necessary Documents
Now that we know you're eligible, let's go over the documents you'll need to gather for your application. Here's a list of what you'll need:
- A filled-out and signed Nationality Verification Form
- A completed and signed Passport Application Form
- Two recent passport-sized photographs (2x2 inches) with a white background
- Your current Indian passport (original and photocopy)
- Proof of legal status in the USA (e.g., Green Card, Employment Authorization Card, or visa)
- Proof of residence in the USA (e.g., driver's license or utility bill)
- Payment for the application fee (check or money order)
Make sure you have all these documents ready before moving on to the next step. It's essential to ensure a smooth and timely application process.
Step 3: Submit Your Application
Now that you have all your documents in order, it's time to submit your application. You have two options for doing this:
- Apply in person at the Consulate General of India (CGI) or the Embassy of India
- Apply through the mail via a designated service provider
Applying in person allows for quicker processing times, but if you don't live near a consulate or embassy, mailing your application might be more convenient. Regardless of which method you choose, make sure to follow the specific guidelines and requirements for your chosen method. This will help ensure a smooth and successful application process.
Step 4: Track Your Application's Progress
After submitting your application, you'll want to keep an eye on its progress. If you applied in person, you'd receive a receipt with a tracking number. If you mailed your application, the service provider would provide you with a tracking number. Use this number to track the status of your application online. This will give you an idea of how long it will take for your new passport to arrive and help you plan accordingly.
Step 5: Receive Your New Passport and Verify Information
Once your application has been processed and approved, your new passport will be mailed to you. Make sure to check the information on your new passport carefully as soon as you receive it. If there are any errors, contact the consulate or embassy immediately to have them corrected. It's essential to do this as soon as possible to avoid any potential issues when traveling.
In conclusion, renewing your Indian passport in the USA might seem like a daunting task, but with the right information and preparation, it can be a straightforward process. Just follow the steps outlined in this article, and you'll have your new passport in no time. Happy travels!


